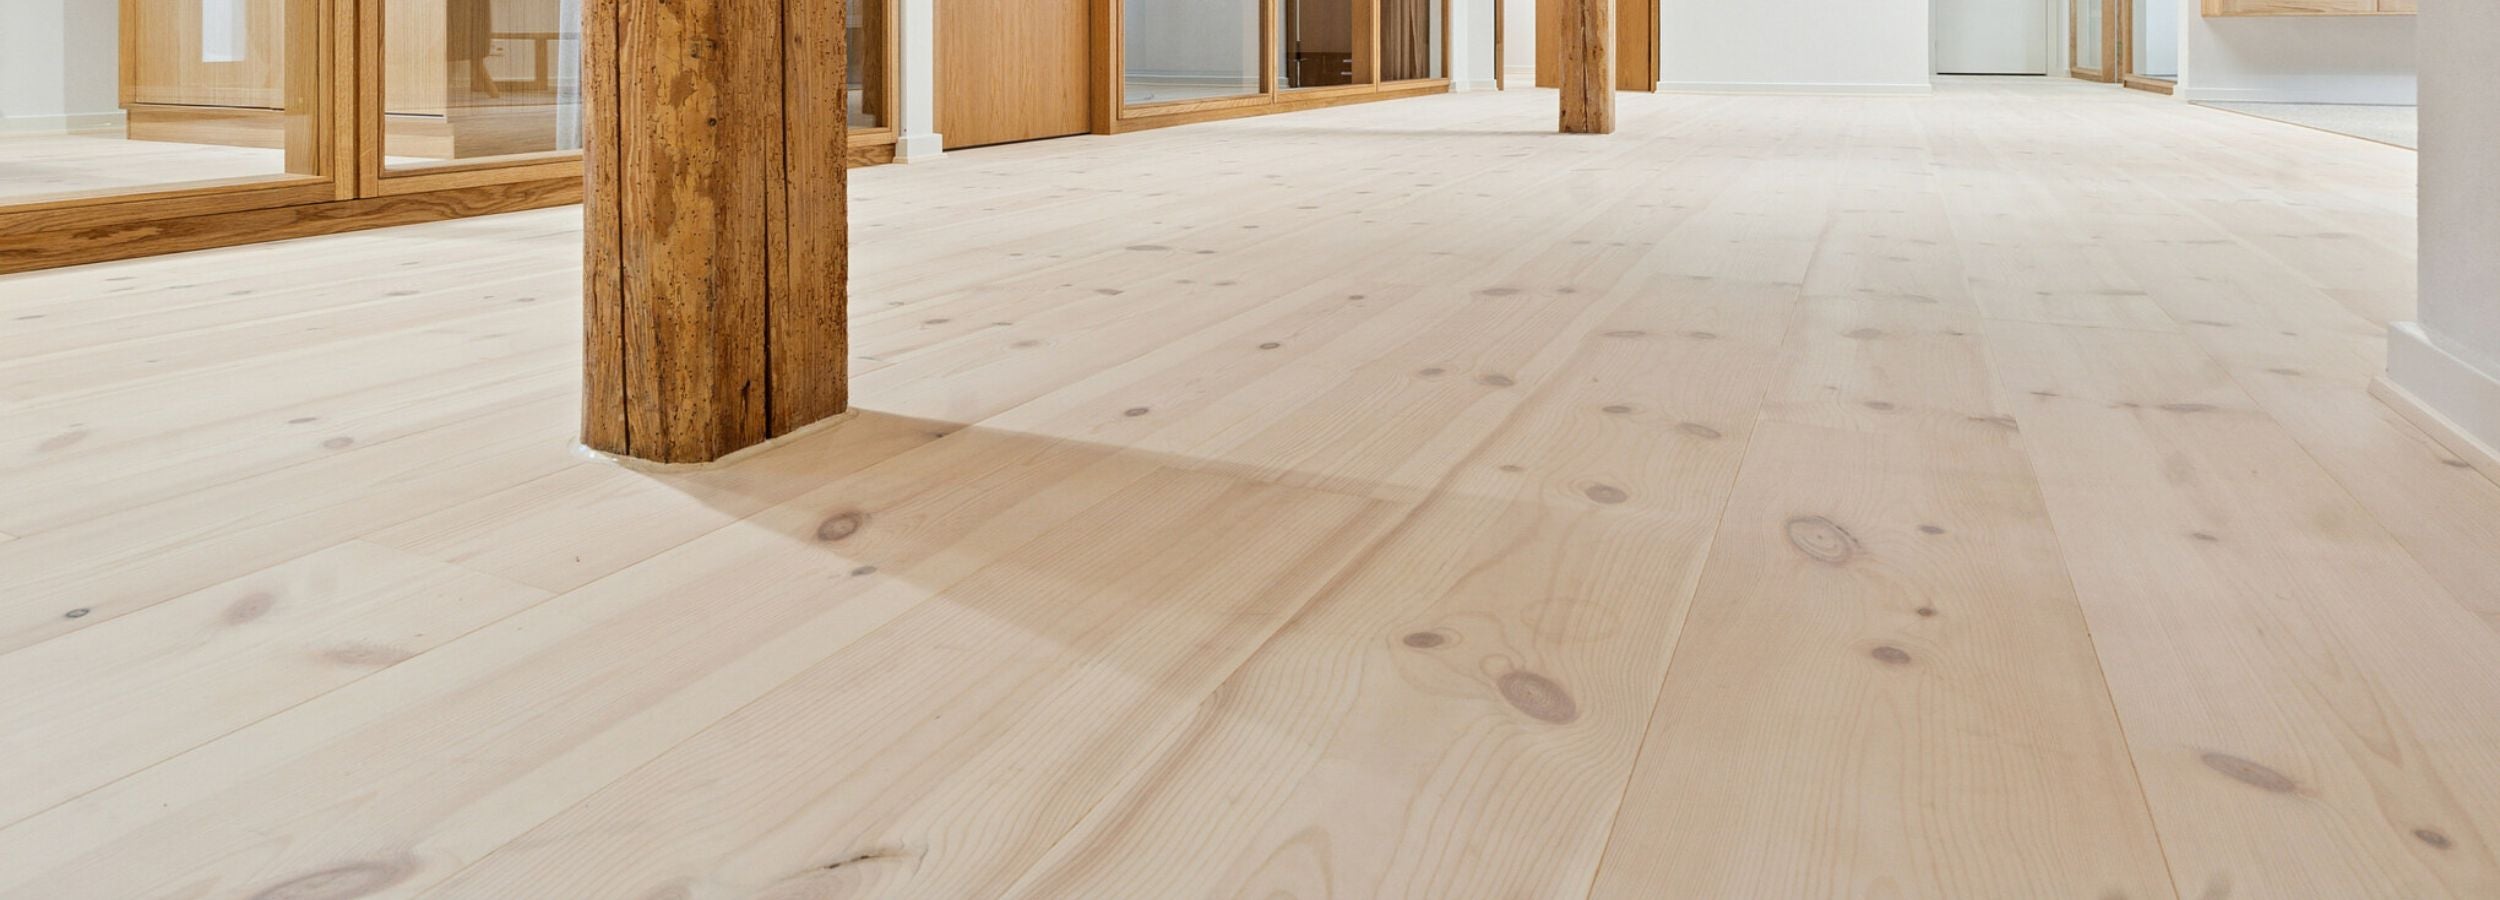
Your Viking Floor
How to install a Wiking floor with tongue and groove
Tradition for good wood
Tongue and Groove Assembly
You can easily install your new wooden floor yourself using the simple tongue-and-groove method – but there are several things you need to be aware of.
Below, we have compiled a clear step-by-step guide to help you get started with laying the floor.
Once the floor is laid, it is important to maintain and care for it correctly so that you can enjoy it for many years to come.
Read more about maintenance and care of wooden floors here.
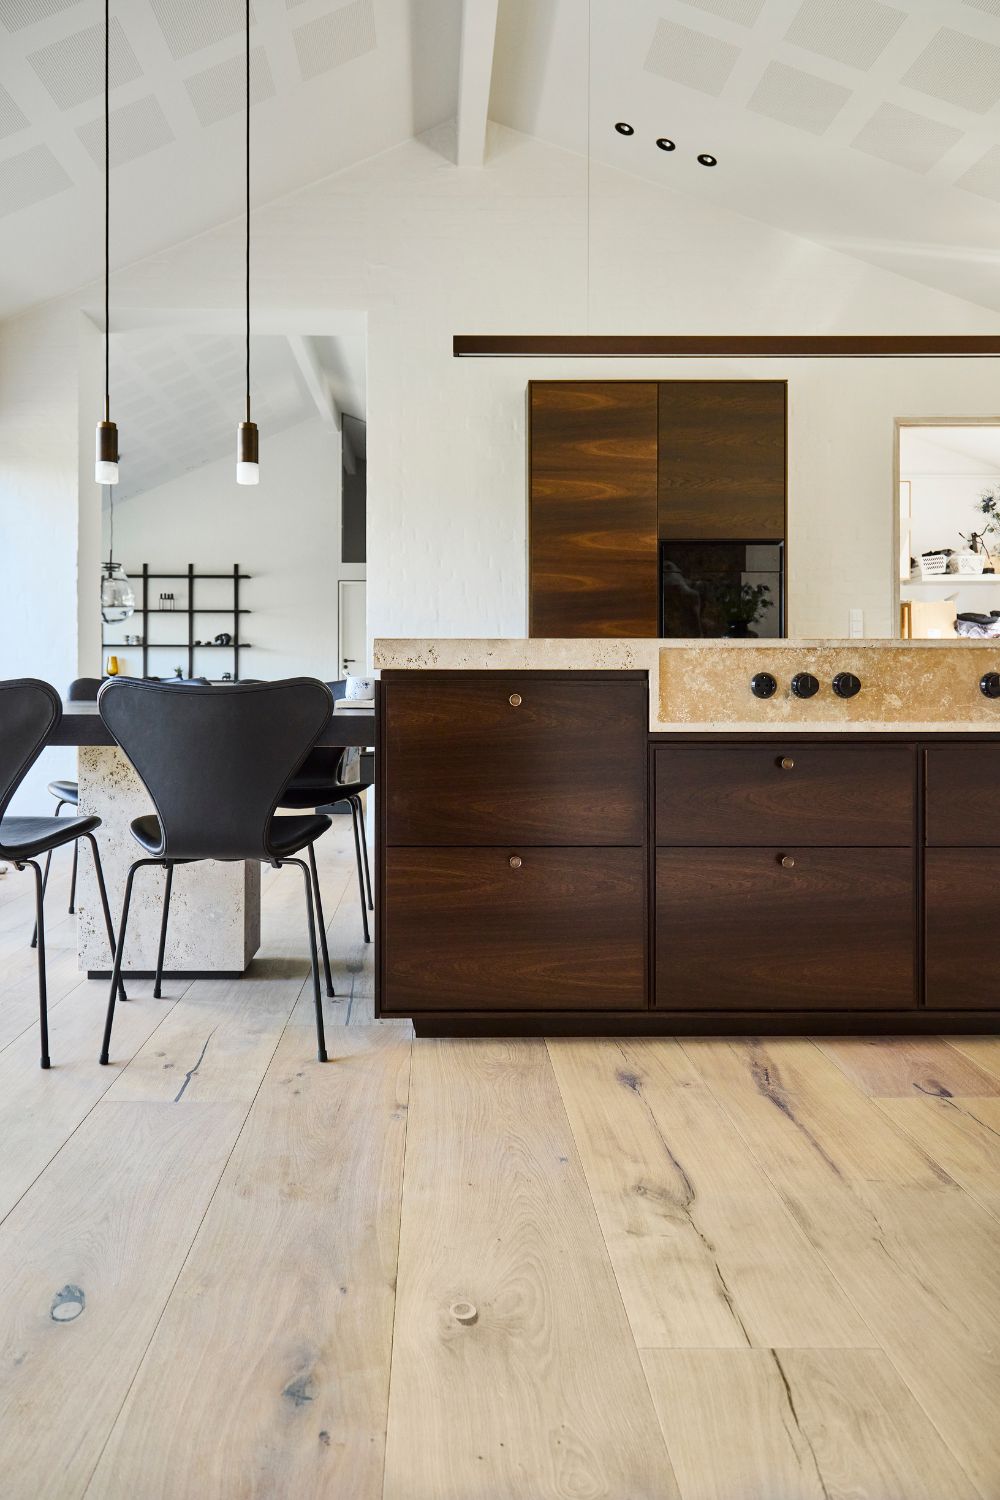

Wiking floors
What are tongue and groove?
When installing your wooden floor, you can use the tongue and groove method. This is a technique often used for joining materials – in this case, plank flooring.
Each plank has two ends: one with a groove and one with a tongue, which fit into each other – much like puzzle pieces.
The purpose of the tongue and groove system is to control the vertical movement between the planks while also enabling a floating installation, where the floor can move freely in relation to the subfloor.
step-by-step - Assembly
Mounting

Trin 1
Begin laying against a straight wall and lay the laminate flooring with the tongue facing forward. It is important that the first 2 rows have completely closed end joints; “a good start is half the battle.” Use spacers or wedges to maintain the necessary distance from the wall (10 mm). For floating installation, apply the glue as two unbroken strips on the top and bottom of the groove. When the wood planks are joined, the glue is thereby drawn into the groove. Immediately wipe off any excess glue with a wet and clean cloth.

Step 2
First, join the end joints, and then the long joints, hitting the tapping block diagonally towards the end joint, which provides the best tightness in the end joint. Vary the distance between the end-to-end joints between the plank rows, without creating a pattern. Use a tapping block made of hardwood or synthetic material, held against the tongue.


Wiking floors
After installation and maintenance
- Never use a "cut-off" piece of the floor, as this may damage the wear layer of the floor.
- Maintain a 10 mm distance to fixed installations – pipes, etc.
- Install a scotia so you don't risk the floor "detaching" from the skirting board, etc. – this is normal good Danish craftsmanship.
- If the plank floor is to be laid in several rooms, the floor area should be divided at doorways, etc.
- Expansion joints should be established for larger floor areas, especially if the planks run across the opening.


Wiking floors
Installation of wooden flooring combined with underfloor heating
When using underfloor heating in combination with wooden floors, it is especially important that the system has been in operation before the floor is laid. The system should be turned off 2 days before laying the floor. The heating system controls must be installed and commissioned. After the wooden floor is installed, the temperature should be raised gradually, and the same procedure should be followed at the beginning and end of the heating season. Never suddenly turn underfloor heating on or off when you have wooden floors. The flow temperature must not be too high, and the maximum temperature on the surface of the wooden floor must not exceed 27 degrees Celsius (measured with an infrared thermometer). Experience shows that a surface temperature of 27 degrees corresponds to a flow temperature of 35 degrees in a water-based underfloor heating system embedded in concrete.
Installing plank flooring
Preparation, installation, and maintenance
Before installation begins, check that the subfloor or battens meet the flatness requirements of +/-2 mm over a 2-meter straightedge. The substrate must be firm and stable (not springy). A vapor barrier must be installed when there is a risk of moisture penetration from below (always use a vapor barrier on concrete). Use at least 0.20 mm PE film and foam, felt or similar.
Never install a vapor barrier on top of organic materials (wood, etc.) due to the risk of rot and fungi. When installing, open several packs continuously in advance and mix from several packs – in case of visible defects or unwanted structural variations, cut off the plank.
Cut planks are reserved for "start and end planks" and are used continuously during laying. Only planks with pervasive defects will be replaced.
Especially for pine floors or plank floors of a rustic grading, it is possible/recommended to cut away a lot of minor defects (edge knots - filled knots, etc.) without significantly increasing the overall consumption, so be critical. The sawn-off planks can easily be used without significant waste at the start and end of the rows.
Please note that laid planks are accepted, and therefore any complaints will be rejected.
Lay planks with the same production date together to avoid any minimal differences in production batches. Start laying along a straight wall and lay the laminate flooring with the tongue facing forward. It is important that the first 2 rows have completely closed end joints; "a good start is half the battle".
Use spacers or wedges to maintain the necessary distance from the wall (10 mm). For floating installations, the glue is applied in two continuous strips on the top and bottom of the groove. When the wooden planks are joined, the glue is thereby drawn into the groove.
Immediately wipe off any excess glue with a damp, clean cloth. End joints are assembled first, and then lengthwise. Strike the tapping block obliquely towards the end joint, which provides the best tightness in the end joint. The distance between the endwise joints varies between plank rows, without creating a pattern.
Use a tapping block made of hardwood or synthetic material, held against the tongue. Never use a piece of "waste" from the floor, as this can damage the wear layer of the floor. Maintain a 10 mm distance from fixed installations – pipes, etc.
Install a scotia so that you don't risk the floor "slipping" skirting boards, etc. – this is normal good Danish craftsmanship. If the plank floor is to be laid in several rooms, the floor area should be divided at doorways, etc. Expansion joints should be established for larger floor areas, especially if the planks run across the opening.
For underfloor heating in combination with wooden floors, it is especially important that the system has been in operation before laying the floor. The system should be stopped 2 days before floor laying begins. The control for the heating system must be installed and commissioned.
After installing the wooden floor, the temperature is gradually raised, and the same procedure is used at the beginning and end of the heating season. Never suddenly open or close the underfloor heating for wooden floors.
The flow temperature must not be too high, and the maximum temperature on the surface of the wooden floor must not exceed 27 degrees (measured with an infrared thermometer). Experience shows that a surface temperature of 27 degrees corresponds to a 35-degree flow in a water-based underfloor heating system in a concrete layer.

Danish-produced wooden floors

FSC, PEFC and Cradle to Cradle certified

We only use wood from 100% sustainable forests

Order a wood sample or flooring consultant

Easy assembly with Q-LOC click system & tongue/groove

Tel.: +45 97 52 56 00
Email: wiking@wikinggulve.dk
Wiking Gulve A/S
Hesthøjvej 16
DK- 7870 Roslev
CVR No.: 3232 3995
Phone hours
Monday 8.00 AM – 4.00 PM
Tuesday 8.00 AM – 4.00 PM
Wednesday 8.00 AM – 4.00 PM
Thursday 8.00 AM – 4.00 PM
Friday 8.00 AM – 3.00 PM
Showroom
Professional
Warranty Terms